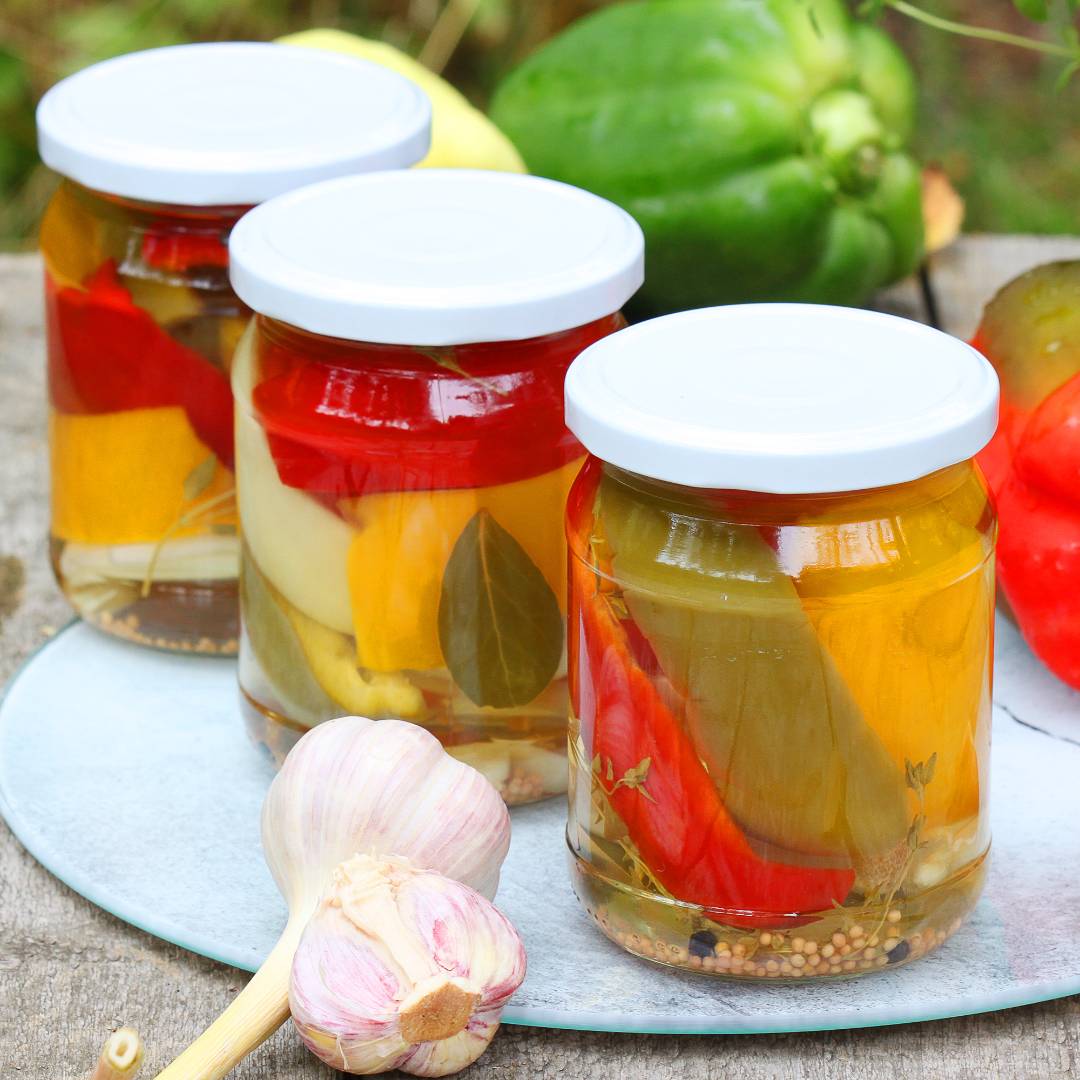
Homemade canned peppers are a very simple recipe for peppers for jars for the winter. Sweet, marinated peppers with the perfect vinegar note and a light hint of thyme are delicious.
Main ingredients
- 1.5 kg of peppers in various colors
- small onion – up to 100 g
- 3 cloves of garlic – 15 g
- 5 bay leaves
- 10 grains of allspice
- 25 black peppercorns
- about 1.5 teaspoons of bitter grains
- 5 sprigs of fresh thyme
Ingredients of the pickle
- 1 liter of water – 4 glasses
- 400 ml of 10% spirit vinegar – about 1.5 cups
- 200 g of sugar – about 1 cup
- 15 g of rock salt – a flat spoon
Marinated paprika
My glass has a capacity of 250 ml.
For 1.5 kilograms of colorful and fleshy peppers, I used 5 jars with a capacity of 500 ml each.
I highly recommend reading the entire recipe first to learn its outline and sequence of steps. In the content I give a lot of interesting tips about ingredients and their substitutes. You may want to omit the thyme or use dill. I encourage you to read the whole thing and then get to work.
Pickled peppers recipe
At the very beginning, prepare the brine. Boil a liter of water in a pot and then pour 400 ml of 10% spirit vinegar (or 100 ml less if you prefer more delicate peppers) and add 200 grams of sugar and 15 grams of non-iodized salt. Stir everything and bring to a boil again. Cover the pot with the brine and cook on low heat for five minutes. After this time, remove the pot from the burner and set aside to cool. While the brine is cooling, prepare the jars and vegetables.
Prepare five jars with a capacity of 500 ml each or jars with a different capacity. In total, they will have a capacity of approximately 2,500 ml. The jars should be perfectly clean and preferably scalded with boiling water. Same with caps. Use only undamaged jars and lids.
Pour 1/3 teaspoon of mustard seeds, five black peppercorns and two allspice grains into each jar. Add one small bay leaf, a few onion feathers (previously peeled and chopped), a few slices of peeled and chopped garlic and one sprig of fresh thyme, which can also be replaced with a small amount of garden dill. You can also use dried thyme… just a pinch for each jar.
You need about 1.5 kilograms (or a little over) of fresh peppers. Choose the firmest, undamaged and fleshy peppers. You can only use red peppers or use other colors: orange, yolks, green…
Wash the peppers very thoroughly, then cut them into four pieces and remove the seeds and soft insides. You can cut the pepper pieces into smaller pieces, which will be easier to place in jars.
Tip: To fit as many pepper pieces into one jar as possible, you can soften them slightly by pouring boiling water over the pepper pieces. To do this, place the pepper pieces in any container (metal… glass) and pour boiling water over them. After a while, pour out the water. This will make the peppers more flexible.
Place the pieces of colored peppers in jars with the previously placed additions. Try to place as many pepper pieces as possible in each jar.
Fill each jar with the cooled brine (it may still be slightly warm). Pour enough brine to completely cover the peppers, but also leave 1 cm of space around the edge. Don’t rush to close the jars as there may be a lot of air bubbles between the pepper pieces. To get rid of them, I recommend rocking the jars carefully. After removing the air from the jars, you will probably need to add a little more liquid. Only then can the jars be tightly closed.
Tip: If you run out of brine, you can make up some by adding boiled water to the jar.
Before you can put the jars with marinated peppers in the cellar, they must be briefly pasteurized.
Pasteurization in a pot:
Place a cotton cloth or a new cloth diaper at the bottom of a wide pot. Place the jars next to each other, but not touching each other. Pour water up to 3/5 of the height of the jars. Set the burner to medium power and bring the water to a boil. Reduce the power to low and pasteurize the jars for about 10 minutes.
Pasteurization in the oven:
Place the well-closed jars on a rack or on a thin baking tray in a cold oven (approximately the middle shelf) and then start preheating the oven to 110 degrees (top-down option). Do not set a higher temperature to avoid damaging the rubber bands in the caps. Pasteurize the jars for up to 20 minutes. You count the pasteurization time from the time the oven heats up. After turning off the oven, you can leave the jars inside until they cool down completely. After this time, when pressed with a finger, the cap should be concave – it should not deform/bounce.
Right after pasteurization, I recommend turning the jars upside down. This way you can check whether the jars are tightly closed. Additionally, it may help in the case of caps that did not suck during pasteurization. After 10 minutes, you can turn the jars over and take them to a cool, dark place without moisture. A basement or dark storage room is best.
Home canned peppers are ready to be tried after a week at the earliest. It will be best after two weeks of marinating. Pickled peppers are great for sandwiches. It will sharpen and diversify the taste of even the most ordinary sandwich with ham and yellow cheese. It is great for wraps or burgers.
Canned peppers can be one of the ingredients of a salad, e.g. with tuna. It is also always a good appetizer for a plate of cold hams and as a snack served next to marinated mushrooms or onions on the Christmas table.
Enjoy your meal!